
Learn · Homeowners and renovators · Lesson 3 of 6
Show the house before and after
You willMark what is there now and what is new, then switch between the current house and the proposal.
Time4 min
Try it in Plotlay → Opens an example project with this lesson beside it. Nothing to install.
Steps
- Open your plan of the house as it is. Select a room, and Shift+click to add the others.
- In the panel on the right, open More settings and set Existing or new to Existing (to remain). Use Existing (to be removed) for anything coming out.
- Open the Layers tab and tick Designing: new shapes are marked Proposed.
- Draw the new work, such as an extension with Room. It is marked Proposed as you draw.
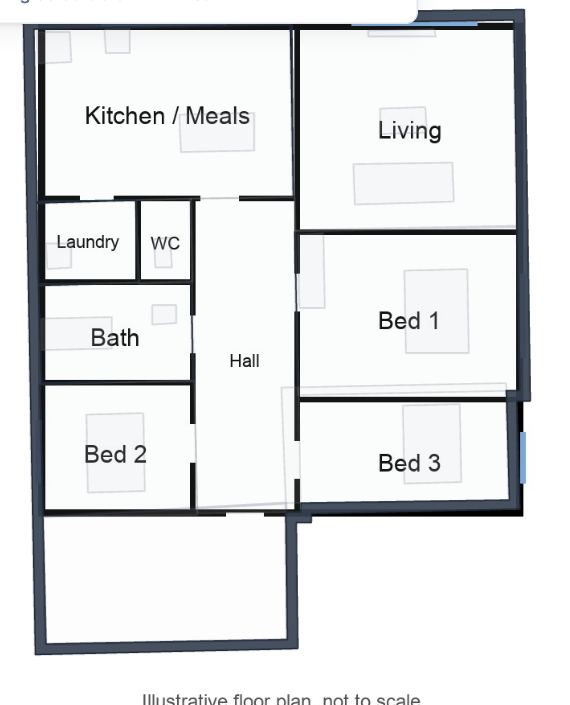
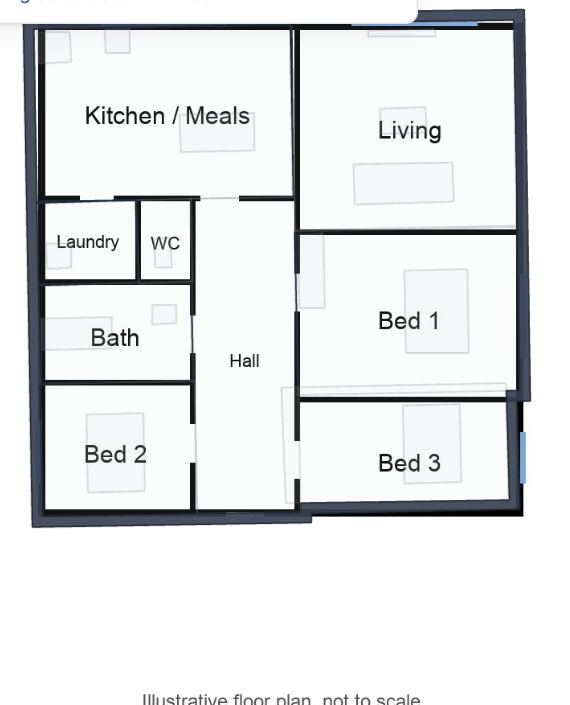
- Switch between Current, Proposed and Both (in the Layers tab or the Site workspace) to see the house now, the design, or both.
Tips
- Drawings show existing work in grey, new work bold and anything being removed dashed red, as planning drawings do.
- The 3D view and exports follow the same choice, so you can walk through the house now and the house after.
Common mistakes
- Forgetting to mark the existing house first: unmarked shapes show in every view, so before and after look the same.
- Leaving Designing: new shapes are marked Proposed ticked when you go back to fixing the current plan.
Related lessons
Compare design optionsKeep two versions of a room in one project and show one at a time.4 minWalk through your plan in 3DTurn the plan into a 3D model, walk through it at eye height and save a picture.3 minMake the plans to lodgeProduce a numbered PDF set for a development application: compliance summary, site plan, elevations and schedules.4 min
Steps checked in the app on 14 October 2026.