
Guide 5 · levels
Multi-storey buildings
Open this example in Plotlay → The same project, ready to explore. Nothing to install.
A building is a stack of plans on one footprint. Plotlay gives each floor its own drawings, shapes and assets, keeps site-wide things (car park, boundary, external assets) on every level, and records the level on everything you export.
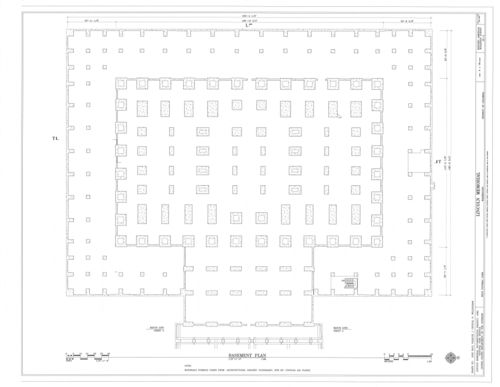
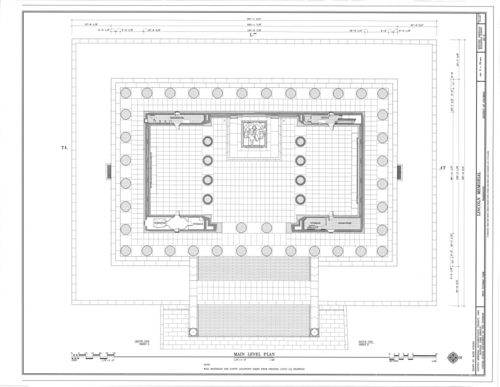
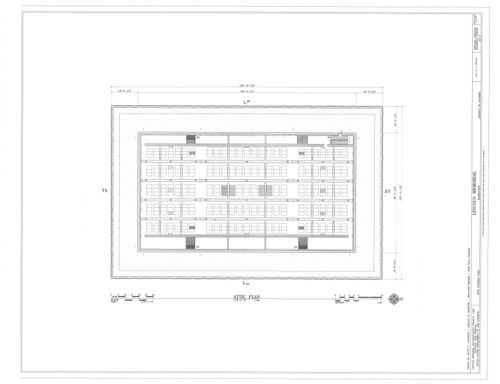
The Lincoln Memorial HABS set has a plan for every level (basement, mezzanine, main level, attic and roof), which makes it a good example.
Steps
- Layers → Set up levels. Tick the floors (B2, B1, G, L1… Roof) and choose whether what's already in the project goes on Ground or stays site-wide. Rename, reorder and set floor heights later.
- Switch level with the switcher on the map. Other levels hide, or fade if you prefer (Layers → Levels → Other levels: faded).
- Pin the first floor's plan as in guide 1.
- Copy it to the next level. Select the plan → Copy to another level. It lands in exactly the same place; use Replace image to swap in that floor's drawing. If the new sheet is drawn at the same scale and position, it is aligned immediately; otherwise re-pin it (two pins is often enough, since the floors share a footprint).
- Draw and capture on the current level. Anything you draw, paste, import or capture lands on the level you're viewing; move things between levels from the Level box in the side panel.
- Audit one floor at a time. The Items list and the field work list follow the current level, plus site-wide items.
In the exports
Every item, shape and extra point carries level and elevation_m. Plan sheets print the current level (with site-wide things) and put the level name in the subtitle; DXF layer names are prefixed with the level code.