
Learn · AI connector · Lesson 4 of 4
Give the connector files to import
You willGet a spreadsheet, map data, a picture, a photo or a scan into a project through the connector.
Time3 min
You needA connected agent, and the file.
Try it in Plotlay → Opens an example project with this lesson beside it. Nothing to install.
Steps
- Small text files (CSV, GeoJSON, KML, GPX, a project or scan file, up to 2 MB) go straight in: attach it and say “import these as items in my audit project”.
- Bigger files up to 25 MB, and pictures: it asks Plotlay for an upload link, puts the file there and imports it. A public https link works too.
- Say what it should become: a table becomes items (as Import items in the top bar does), map data becomes shapes on a new layer, a picture becomes an overlay placed by a point and width or by pins.
- A photo goes on an item or a room (it can take the camera’s location out first), a project file becomes a new project, and a Plotlay Scan export becomes rooms.
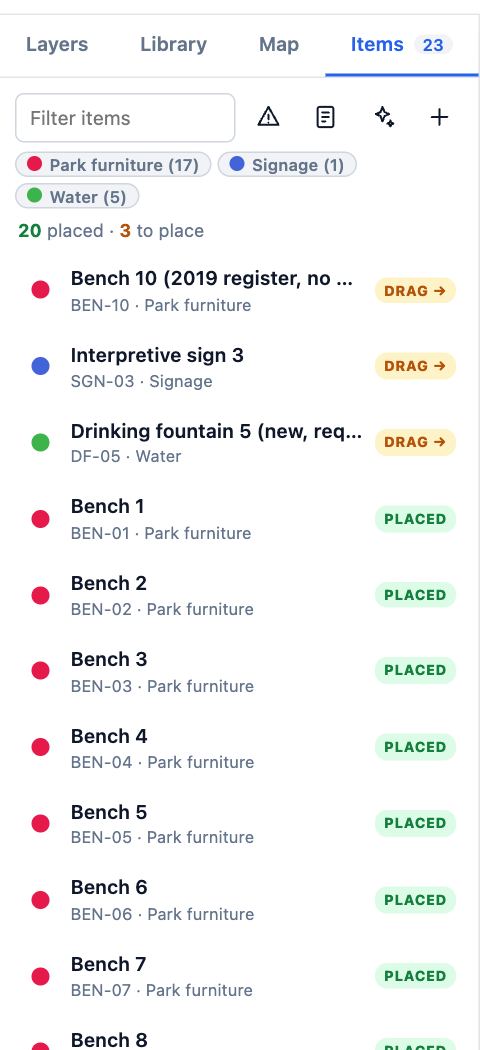
- Check the result in the app: imported items are in the Items tab. Ask the agent to undo if it is wrong.
Tips
- Name the columns if they are unusual (“the asset number is in column Ref”). Otherwise it matches id, name, group and latitude and longitude, or easting and northing, as Import items does.
- MGA or UTM coordinates: tell it the zone. Zone 54 south is assumed otherwise.
Common mistakes
- Sending a PDF or DXF to import: those are read in the app, with Add overlay.
- Importing map shapes into a plan that is not on the map: shapes carry real coordinates, so pin the drawing to the map first, or use a map project.
Related lessons
What the connector can and can’t doKnow which jobs the connector does on its own and which need the app open.3 minWork through an asset register on siteVisit each asset in turn, nearest first, and record where it is, its form answers or that it is missing.5 minExport to GIS, Excel or Power BIDownload your assets and shapes as GeoJSON, a Shapefile or a CSV, ready for a GIS or a spreadsheet.3 min
Steps checked in the app on 14 October 2026.